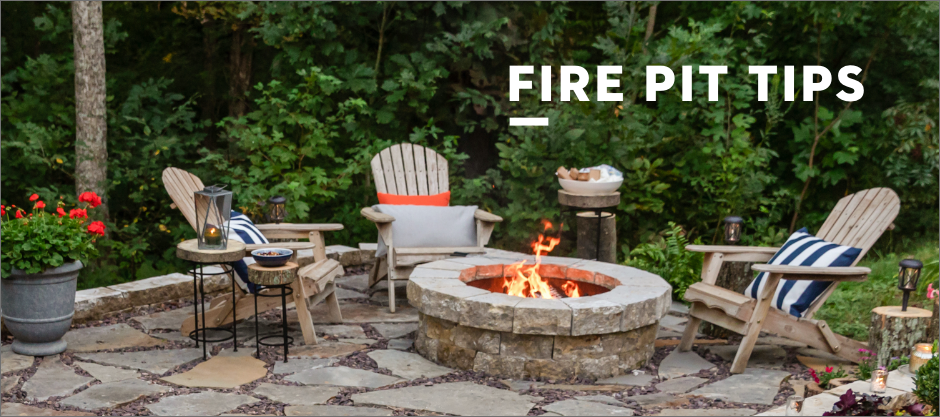
A Guide to Using, Buying and Building a Fire Pit
Fire pits are becoming more common in back yards across the country – and it’s easy to see why. They are a great way to gather friends and family for outdoor fun. Who doesn’t love a good campfire? Deciding what kind of fire pit to install, however, can be a bit daunting. This quick guide will help you determine whether to buy or build, and keep you aware of important safety considerations.
Before You Begin
The first step is to check with your homeowner’s association to determine if fire pits are allowed in your neighborhood. If you live within city limits, check local ordinances to see if fires and fire pits are permitted. If they are, ensure you follow any and all additional regulations pertaining to fire pit installation and operation.
Buying a Fire Pit
Fire pits come in many shapes, sizes and price tags. Here is a brief overview of the different types of fire pits to help you determine which type of pit is right for your property:
Pre-made Fire Pits
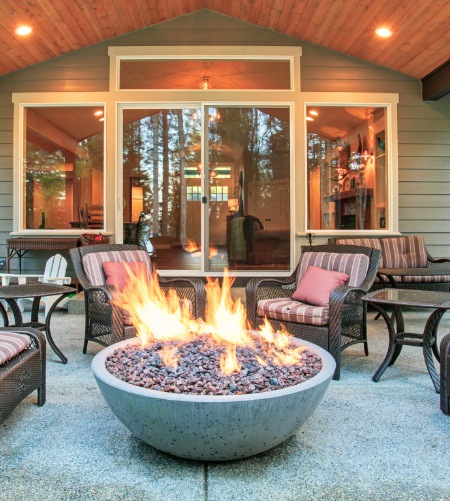
Pre-made Fire Pits are stand-alone structures you can buy and require little to no installation. There are a few notable advantages to this option. Some pre-made fire pits can be stored when not in use, freeing up more space in your yard when you’re not entertaining. They are also portable, giving you more freedom over where to have your gathering. Some pre-made pits are also powered by natural gas, meaning no logs to buy, no smoke and no ashes to clean. Gas-powered pits do require periodic cleaning, however, and propane tanks will eventually need to be filled.
Fire Pit Kits
Fire Pit Kits are a middle ground approach between pre-made pits and total DIY custom options. They are widely available and come in a variety of styles and block types. These kits typically include pre-cut concrete or stone that you stack and glue together. The finished pits are not portable, but deliver a more professional look that can complement your existing landscaping.


DIY Fire Pit
If you are building a completely custom, DIY fire pit, your building procedure will vary considerably. We recommend you consult with a professional landscaping service for planning and installation. If you have decided to build your fire pit from a kit, here are some general considerations you will need to make:
Before Building
The first thing you will need to determine is the location of your fire pit. Ensure your location is level and at least 25 feet away from your house or any other structure. Also, avoid low hanging tree limbs. Remember to refer to any laws or ordinances in your area in case they have additional requirements. Also, do not place your fire pit close to any property lines – and think about whether blowing smoke will affect your neighbors. Finally, there will be an additional area around the fire pit required for benches or chairs, so consider this extra space when making your final decision.
Preparing the Base
If you are building on an existing patio, you are already set – no preparation required. If you are building
in your yard, you will need to do some additional work to ensure a solid, even base for your pit. First,
stake the ground to mark the center of your fire pit. Tie a length of masonry string to the string that
equals half of your fire pit diameter. Pull the masonry line tight and, with a can of marking paint in hand,
walk in a circle around the stake. You should have a perfect circle that equals the diameter of your fire
pit.
Next, with shovels, remove the grass within the circle. Next, you will need to dig a trench for your
blocks. First, place your bottom layer of blocks into your circle. Mark the inside of the blocks and remove
them. You should have a new inner circle marked on the ground. Dig out the area between the inner circle and
outer circle to a depth of around 12 inches. Next, fill your trench with about 6 inches of drainage gravel.
Then, add your first layer of blocks back on top of the gravel. Once your blocks are in place, use a level
to ensure everything is even. Now you are ready for assembly.
Assembling the Fire Pit
Depending on your kit, your assembly instructions will vary. If your blocks are dry-fit, then you simply
stack them together, layer after layer, ending with a layer of capstones on the top. Be sure to stagger the
joints as you assemble, ensuring greater strength and stability. If your kit is not dry fit, it will require
the use of masonry adhesive to between each block layer. Refer to your kit’s instructions for details.
Next, install your steel liner on the inside of your blocks to form an inner wall. If your kit does not
come with a steel liner, you will need to add a layer of fireproof bricks to cover the inside of your fire
pit wall. We also recommend you coat those bricks in a layer of high-heat stove paint. Finally, your kit may
include a bowl, grate and cover that will need to be installed on top of your fire pit walls. Refer to your
kit’s instructions for details. Then, you’re all done! Just add furniture.
Using Your Fire Pit
With your fire pit complete, it’s time to accessorize. Split-log benches are a great way to add rustic charm to your fire pit – and a great use for your STIHL chainsaw and STIHL axes. And speaking of wood, it is a good idea to have a well-managed woodpile to supply your fire pit.
For your safety, be sure to keep a bucket of water handy when using the fire pit – and ALWAYS extinguish a fire or embers at the end of your use. If you are using a propane fire pit, keep a fire extinguisher on hand in case of an emergency.
